Preparations: Get a rectangular piece of paper facing away from you, then fold it in half so there is a couple inches of space not getting covered. Cut off that area where it is not being covered. This will make the paper square.
Step 1: Get the square piece of paper and turn it, so it looks like a diamond. Then you will fold the corner like, an upside down airplane. Make sure the sides are meeting at the center of the line. You should be left with a long triangle and a small one on top off it. Fold the small triangle away from you, so it would be on the other side. The tip of that triangle should be aligned with the line that we made in the beginning.


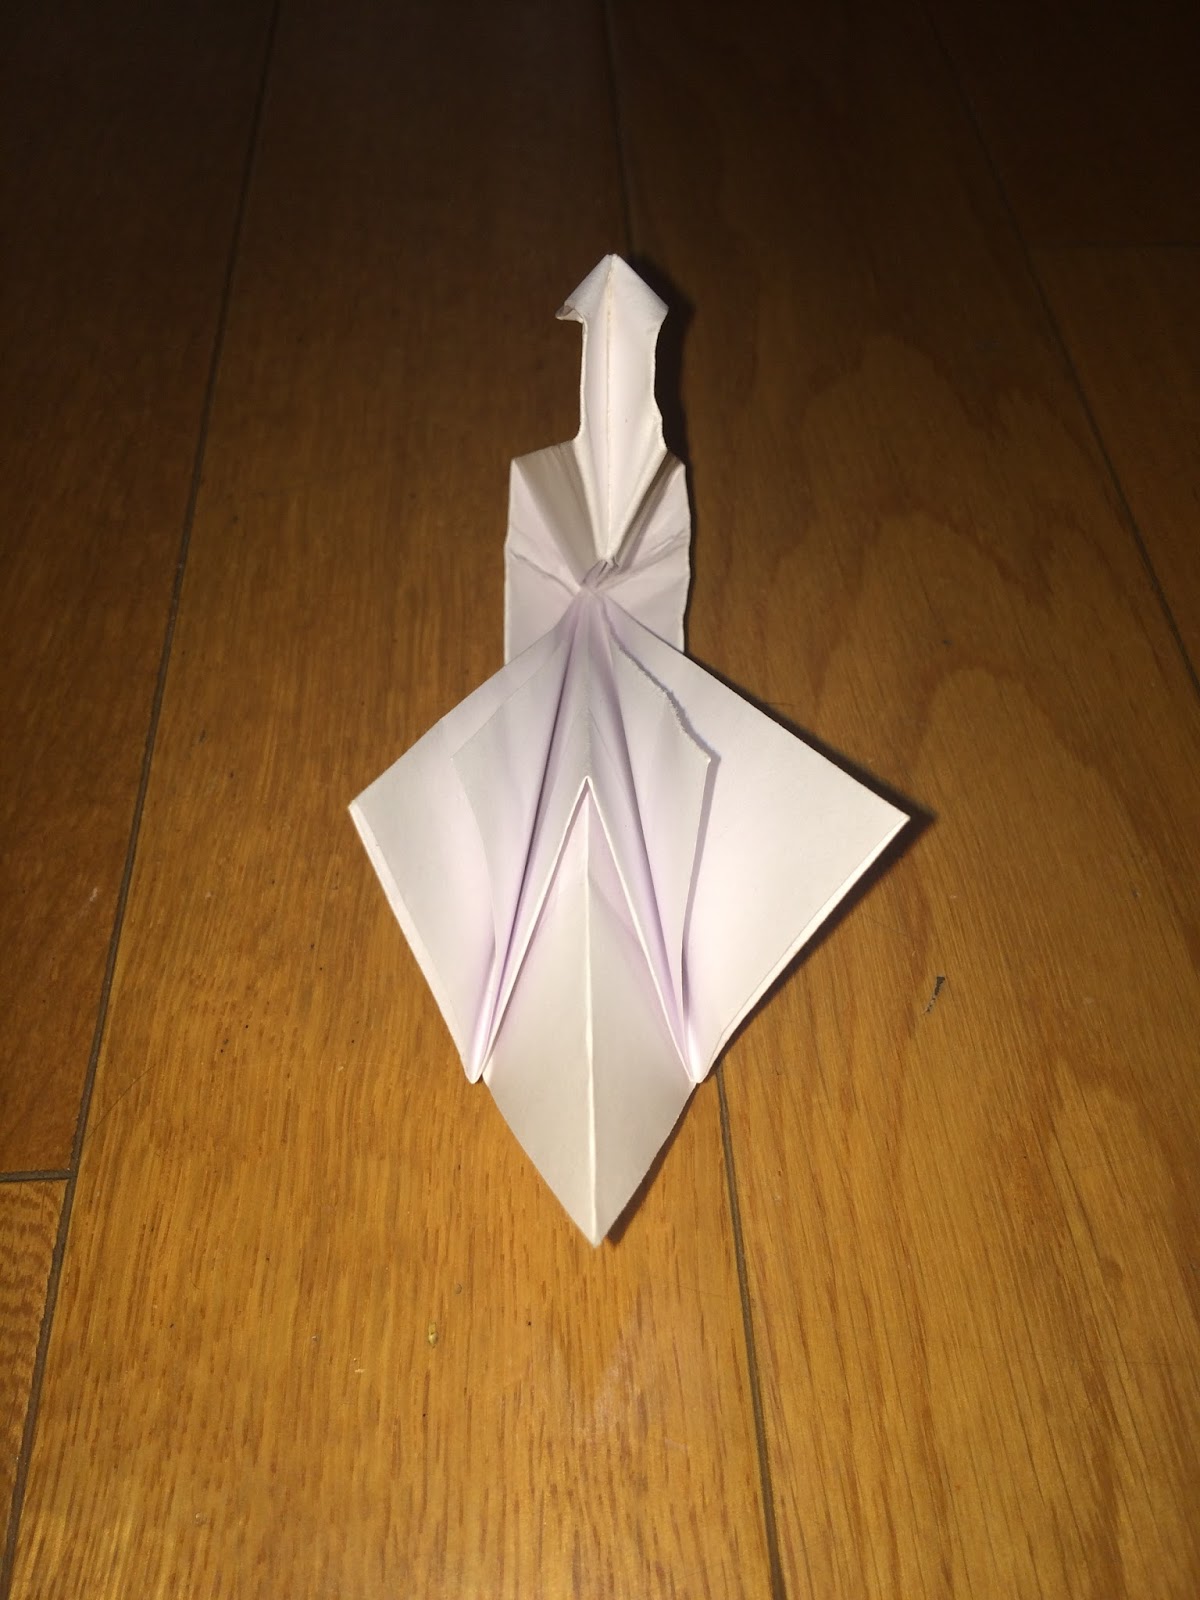
Step 2: Fold the tip of the small triangle, so it meets with the line on the top. Unfold that part and bring the small triangle line that we just made to the big line at the bigger triangle. Now fold the entire thing in half from the line we made in the beginning. Grab the smaller triangle which, should look more like a right triangle now, and move it a couple centimeters down. Once you got the preferred distance press down on i, so it would stay like that. It should resemble something like my picture right now.


Step 3: Grab both flaps of the bigger triangle and fold them upwards, so they meet with the big line. Fold the big triangle in half, so its tip meets with the tip of the smaller triangle. Then unfold it. Next draw a line from the area you just unfolded, there should be a crease there. From the top of that line draw a diagonal line to the bottom of the small triangle. Fold the big triangle in the way of that diagonal. Now unfold that, a small corner should have been made. Press on it lightly, making sure that the part with the drawn lines is facing you. This is called a reverse fold.


Step 4: Fold the piece of the reverse fold towards the wings. You will have to do a reverse fold for this, so use the corner on the bottom for it. You are then going to open one side of that triangle, and get the tip of it, then fold it down. Then bring some of the tip back up, and fold it back in half. Now it should look like the triangle has a small protruding piece coming out of the top of it.


Step 5: Fold half of the thin triangle in an upwards angle. Then unfold it, and do a reverse fold on it. Fold the tip of that triangle side ways then unfold, and do a forward center fold (a reverse fold going forwards). Finally, fold all of the triangle flaps on its body downwards giving it some wings. You are now done with your swan.

Nice job, looks better than most swans I've seen.
ReplyDeleteNice job, looks better than most swans I've seen.
ReplyDelete